Detecting cells in 3D with cellfinder#
In this tutorial, you will use the cellfinder plugin for napari to detect cells in a 3D image.
The aim of this tutorial is to get cell detection up and running. The image we use here is very small and has some artefacts. The results are not very good, but it should be enough to see the plugin working! When using cellfinder on your own data, there are many parameters that can be adjusted, and cellfinder will need to be retrained for optimal performance. For more information, please see the full cellfinder documentation.
Note
You will need napari installed on your computer - please follow
napari’s installation instructions to do so
(including their recommendation to use a conda environment).
Open
napari.Install
cellfinderby selectingPlugins > Install/Uninstall pluginsand searching forcellfinderin the searchbox. If it is not installed yet, click on theInstallbutton.
Caution
This may take a while due to the various dependencies being installed.
On Silicon Macs you may have to run conda install hdf5 on the command line (in your conda environment) first for the installation to be successful.
Open the cell detection widget by selecting
Plugins > cellfinder > Cell detectionin the napari menu bar near the top left of the window.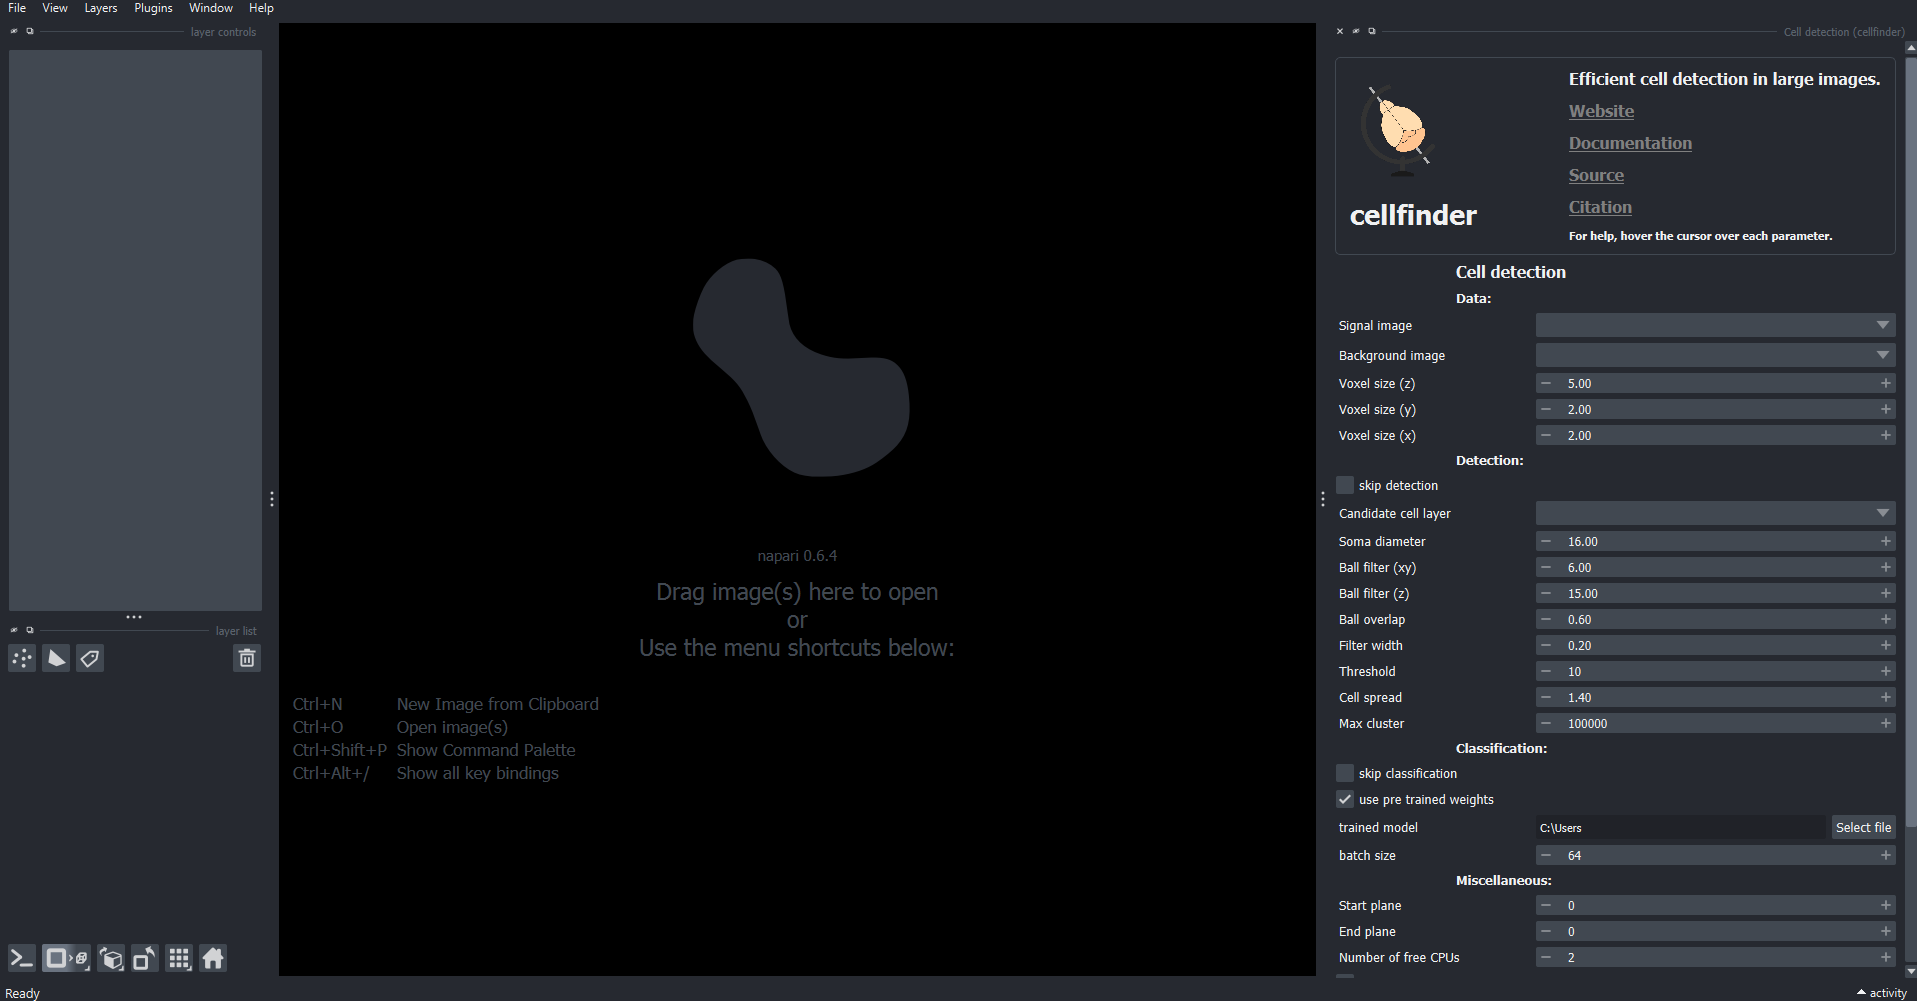
The cell detection widget appears on the right-hand side of the window.
Load some sample data
File > Open sample > Sample data (cellfinder). This will open a small two-channel 3D image.Set the
signal imagetoSignalSet the
background imagetoBackgroundEnsure that
Voxel size (z)is set to5.00,Voxel size (y)is set to2.00, andVoxel size (x)is set to2.00.Click
Run(you may need to scroll down)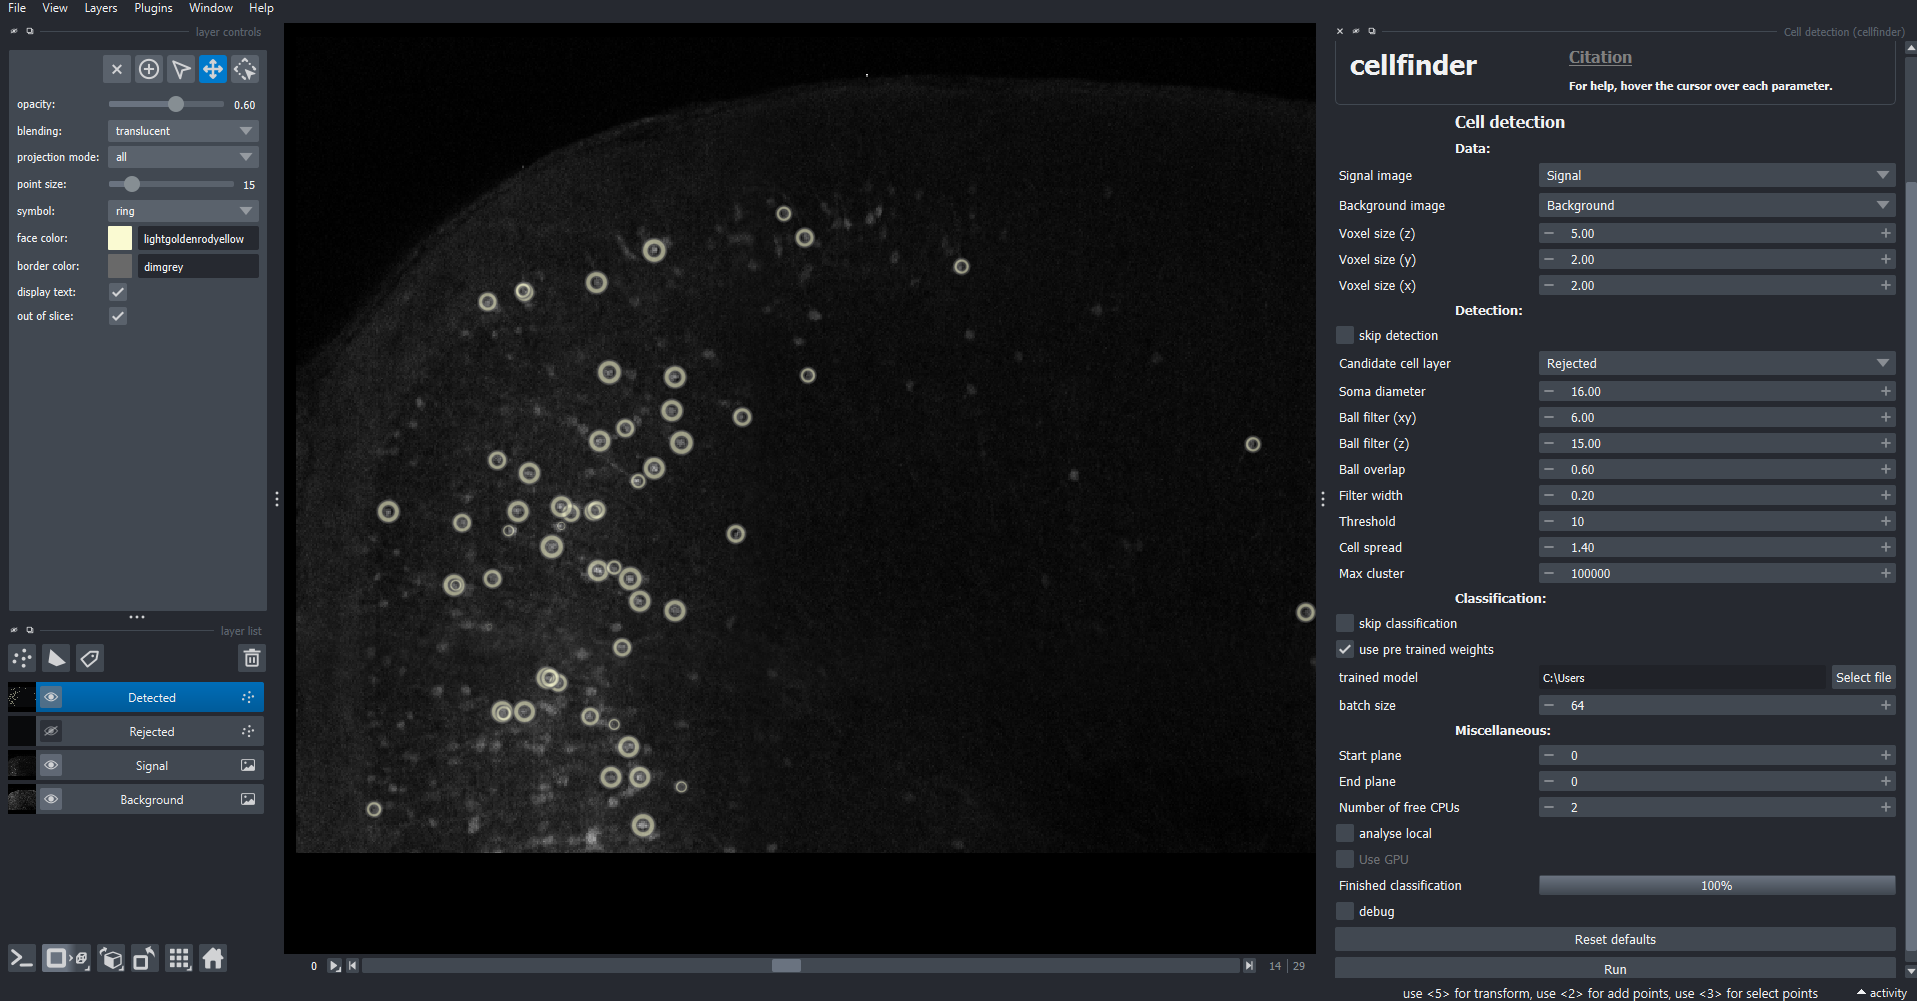
Detected cells are highlighted by yellow circles.
Ensure that the
Detectedlayer is highlightedSave the detected cells by clicking
File > Save selected layer(s), choosing a directory and a filename ending in.xml(e.g.cells.xml).
Hint
For more information about how to use the detection plugin to detect cells in your own data, please see the full cell detection guide.